")


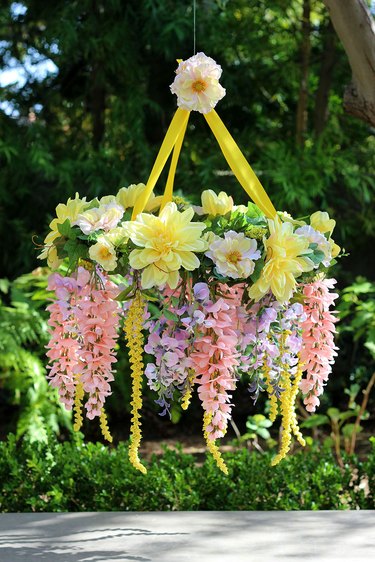
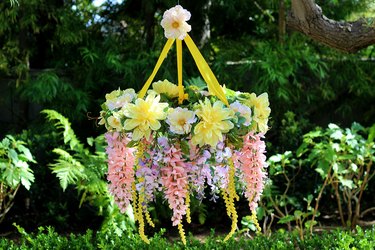
With colorful blossoms cascading from a ring of florals and greenery, a flower chandelier is the home decor accent you need right now. Equally gorgeous above a dining table, in a bedroom or outside on a patio, this chandelier radiates pure happiness and sunshine. It's made with artificial flowers so that it will last season after season, but you can also assemble it with fresh flowers for an event if you'd like. You can even wrap a string of lights around it to make it a true chandelier.
Video of the Day
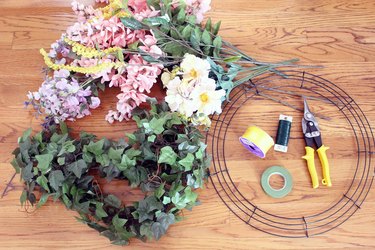
Things You’ll Need
-
Round wire wreath frame, 18 inches
-
Ribbon
-
Leaf garland, 5-6 feet
-
Floral paddle wire
-
Artificial flowers
-
Wire cutters or metal snips
-
Floral tape
Step 1: Attach Hanging Ribbon
Cut three lengths of ribbon to about 36 inches each. Tie each ribbon to the wire wreath frame, spacing them out evenly.
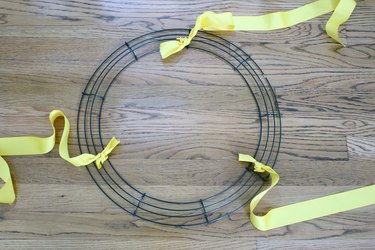
Gather the ends of the three pieces of ribbon and tie them into a knot. Hold the top knot and let the frame hang to make sure it is level.

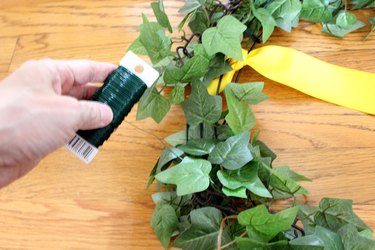
Step 2: Wrap Garland
There are two main portions of the chandelier: the main ring and the cascading flowers. We'll start with decorating the main ring. Wrap a garland of ivy or similar greenery around the wire frame. Loop the garland around rather than just placing it on top. This way, it's already beginning to be secured.

Tie one end of a piece of paddle wire to the wire frame. Then, go around the frame, wrapping the paddle wire around the garland to lock it into place. After you've gone all the way around, cut the paddle wire and tie that end to the wire frame.
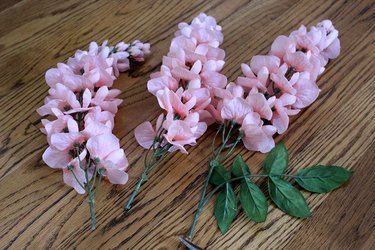
Step 3: Hang the Blooms
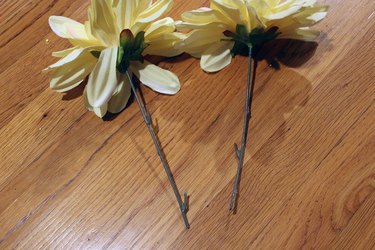
For the hanging blooms, you want to choose flowers that are stalks with buds going down the whole length of the stem. This will make for a more lush chandelier.

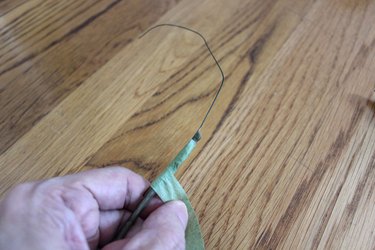
Cut the stems with wire cutters or metal snips, leaving about 1 to 2 inches of stem above the buds' starting point.
Wrap floral tape around the base of the stem. Floral tape, which is used by florists to make corsages and boutonnieres, is a handy tape that becomes adhesive when stretched around a flower stem. After you've gone around the stem a few times with the tape, cut a 4-inch length of floral wire and tape one end of it to the stem with more floral tape.
Then, wrap the wire around the wreath frame and twist-tie it to secure the hanging bloom.
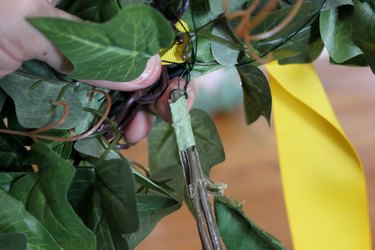
As you add additional hanging blooms, hold up the chandelier to make sure they are evenly spaced.

Tip
If you are using real flowers, attach them to the wire wreath frame in the same manner with floral tape and floral wire.
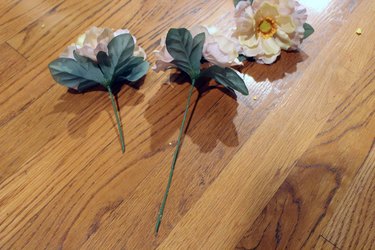
Step 4: Attach Flowers Around the Ring
Start with the largest flower buds first. Cut the stems to about 4 inches with the wire cutters. Thanks to their stems made of wire, the flowers are easy to attach to the wreath frame without the need for any glue or tape.
Remember that your wire wreath frame is made of four concentric circles of wire. It's easy to overlook this once it's covered in greenery. These four different layers of wire make it easy for the stems of the flowers to be secured in place. Insert the stem of the flower through two of the wires. Then, bend back the stem and tuck it underneath another one of the wires, wrapping it around that wire to lock it in. Position and evenly space the large flowers around the ring, facing them outward.

Tip
If you're using real flowers, you'll want to use floral tape to secure the stems to the wire wreath frame.
Step 5: Fill In With Smaller Flowers
As with the larger flowers, cut the stems to about 4 inches with wire cutters.
Fill in any empty spaces with these smaller flowers, wrapping the stems around the wires of the wreath frame to secure them.

Step 6: Add Flowers to the Top Ribbon Knot
For a finishing touch, insert the stems of two or three small flowers through the opening of the top ribbon knot and twist the stems around the ribbon to secure them.

Your flower chandelier is ready to hang and to add charm and beauty to any space.