


")


For a holiday confection, would you rather have cookies or candy? How about both together in one delightful treat? These festive Christmas cookies combine a traditional sugar cookie with a melted hard-candy center, providing a dazzling stained-glass effect. All the hard work is achieved with the help of cookie cutters, so decorating these cookies is easy without the fuss of icing. Put these out for Santa on Christmas Eve, and you'll definitely be on the "nice" list.

Video of the Day
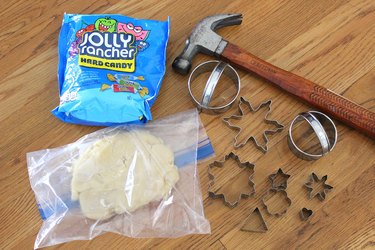
Things You’ll Need
-
4 cups all-purpose flour
-
1/3 cup corn starch
-
1 teaspoon salt
-
1 cup butter
-
1 cup sugar
-
2 eggs
-
1 teaspoon vanilla extract
-
Hard candies (like Jolly Ranchers)
-
Zipper bags
-
Large and small cookie cutters
-
Parchment paper
-
Hammer
Step 1: Prepare the Cookie Dough
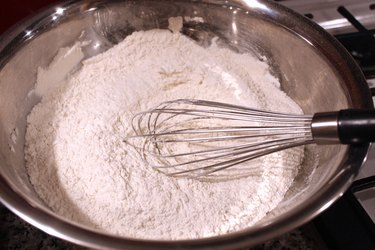
Use your favorite recipe for sugar cookies or purchase premade dough from the supermarket. The recipe I use starts with 4 cups of all-purpose flour, 1/3 cup of corn starch (which prevents the cookies from spreading in the oven) and 1 teaspoon of salt, all sifted. Use a whisk to stir together these dry ingredients.
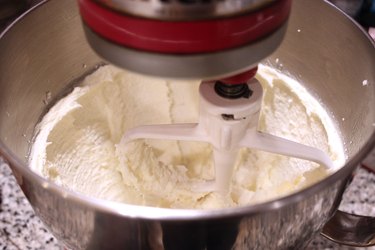
In a stand mixer, combine 1 cup of butter (two sticks) with 1 cup of sugar until the butter has expanded to a whipped consistency that is almost white in color (about four minutes). Then, mix in two eggs one at a time plus 1 teaspoon of vanilla extract. You'll want to scrape down the sides of the bowl to make sure it's all thoroughly incorporated.
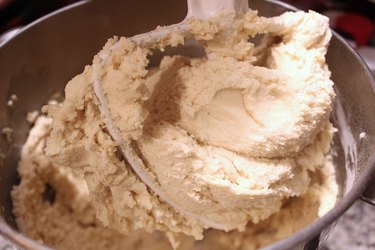
Pour in the dry ingredients with the wet ingredients, mixing until your dough has the consistency of Play-Doh.
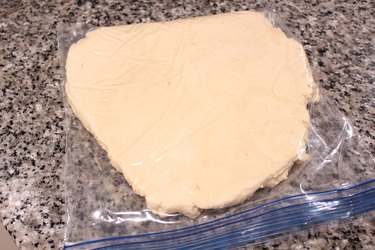
Place the cookie dough in a zipper bag and flatten it slightly with a rolling pin. Place the dough in the refrigerator to chill for at least 30 minutes. I leave it in the refrigerator overnight and make the cookies the next day.
Step 2: Roll the Dough
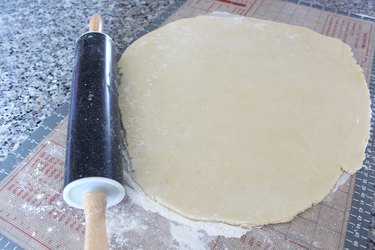
If the dough has been in the refrigerator overnight, let it soften for about 20 minutes before rolling. Take the dough out of the zipper bag and place it on a well-floured surface. Sprinkle some flour on top of the dough and roll it to about a 3/8-inch thickness.
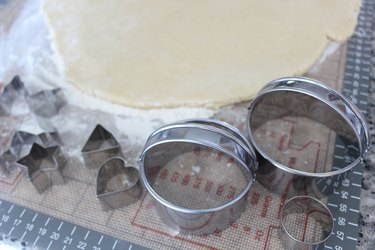
Step 3: Choose Your Cookie Cutters
To make each cookie, you will need a large cookie cutter for the outer shape and a small cookie cutter for the inner stained-glass section. Your cookie cutters can be as simple as a round circle or as elaborate as a snowflake. It's fun to mix up the shapes of your cookies so that they are all different.
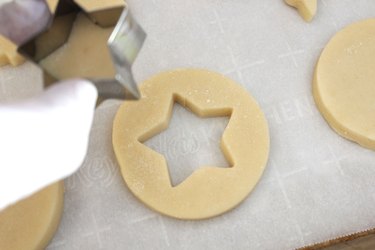
Step 4: Cut Out the Large Shapes
Press your large cookie cutters into the dough to cut out the large shapes. Then, place them on a parchment-lined cookie sheet.
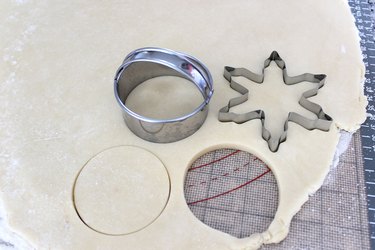
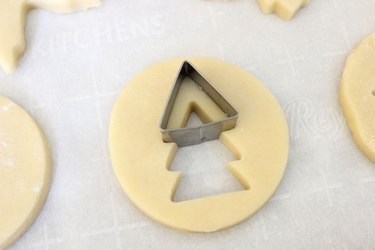
Step 5: Cut the Inner Shapes
Press your smaller cookie cutters into the larger shapes to create the opening for the stained glass. By cutting out the smaller shapes while the cookie dough is already on the parchment paper, you don't need to worry about transferring a potentially delicate cookie to the cookie sheet.
You can also use the smaller cookie cutters to create shapes – like a triangle that forms a Christmas tree – or to create interesting patterns.

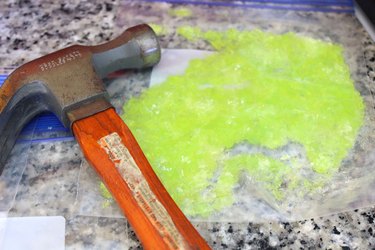
Step 6: Prepare the Hard Candies
Place the hard candies in zipper bags with one color per bag.

Crush the candies in each bag with a hammer. The smaller the pieces of candy, the easier they are to work with.
Step 7: Fill the Openings With Candy
Spoon the crushed hard candy into the openings in the cookies. Use a 1/4 teaspoon measuring spoon. It will give you more control than a larger teaspoon.

Use a toothpick to spread the candy evenly in the opening, getting into the nooks and crannies.

Step 8: Bake the Cookies
Place the cookies in the oven for six minutes at 375 degrees Fahrenheit. Remove the cookie sheet and see if you need to add extra crushed candy to any of the cookies. As the candies melt, they thin out quite a bit, so I like to fill the openings with another layer of candy. Then, put the cookies back in the oven and bake for another six minutes.

Step 9: Let the Cookies Cool
Allow the cookies to cool for 30 minutes before removing them from the cookie sheet just to make sure the hard-candy centers have solidified. The cookies will lift right off the parchment paper.

Hold them up to the light, and you'll see the stained glass sparkle.


These stained-glass cookies really make the holidays shine!


