")


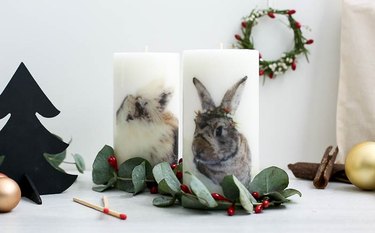
Holidays, birthdays, or really celebrations, are the perfect opportunities for gifting candles to family and friends. The only disadvantage is that they can sometimes seem impersonal. But it doesn't have to be that way! You can easily transfer any image onto a candle and turn something bland into a decorative item with a lot of personality. Follow this tutorial to add photos of your family, loved ones and even your favorite furry friends to pillar candles!
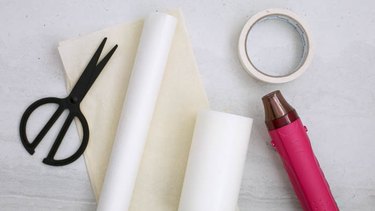
Things You’ll Need
-
Wax candle
-
Tissue paper
-
Baking paper or parchment paper
-
Scissors
-
Printer
-
Heat gun or hairdryer
-
Masking tape
-
Printer paper
Step 1: Prepare Your Image
Using your favorite photo editing software, remove the background of the image you want to transfer. You can cut this off after printing but if you'd prefer to save ink, erase any part of the image you don't want on the candle.
Resize the image to fit on your candle and cut out a piece of tissue paper large enough to comfortably house the image. Tape the tissue paper to a piece of printer paper or cardstock with masking tape. Print the image onto the tissue paper side using the cardstock as a stabilizer.
If there is any lettering or words in your image make sure you flip it so that these read backwards for now.
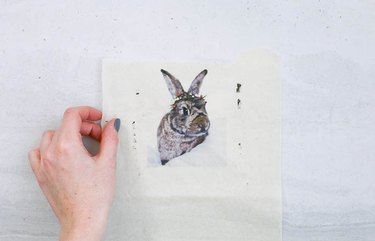
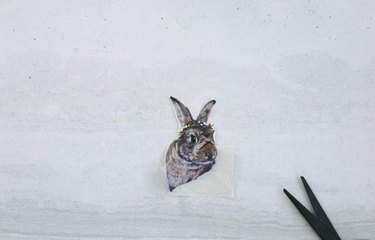
Once the image has printed, take the tissue paper off the stabilizing paper and cut it out. This is ready to set onto the candle.
Step 2: Set the Image on the Candle
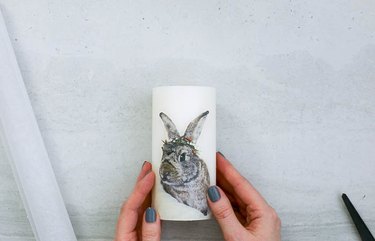
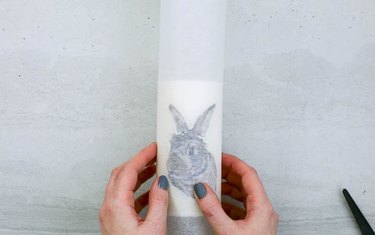
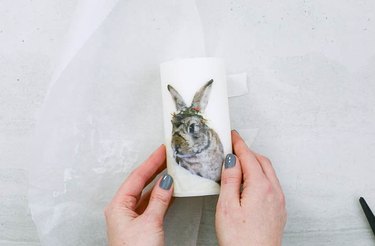
Place the cut out image onto the candle so that the ink side touches the wax. This means you'll need to flip over your image. Wrap the baking paper around the candle holding the image in place and use masking tape to secure.
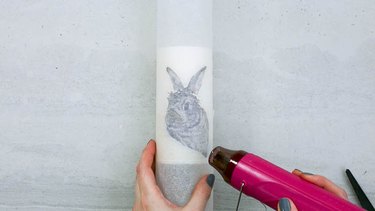
Using your heat source melt the wax underneath the baking paper around the image. As you do so the image will darken and appear more prominent underneath the baking paper. Keep heating until the whole image shows through.
After taking off the heat, wait a few seconds for the wax to cool and then unwrap the baking sheet. Smooth down any bumpy pieces of wax and carefully slice off any larger lumps that may have formed.
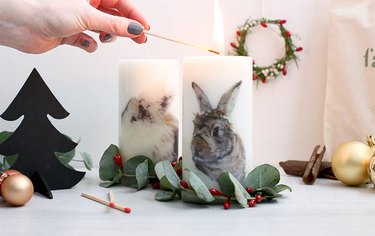
Now your image is set and you're ready to place your candle onto a holder and use as you wish! Or wrap it up and give to that someone special.