


")


Things You’ll Need
-
Measuring tape
-
2-by-12 boards
-
Saw
-
Pencil
-
Framing square
-
3/8-inch by 4-inch wood screws
-
Drill
-
Handrail wall brackets
-
Handrail to fit brackets
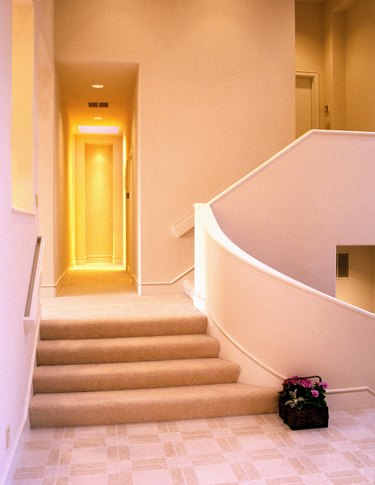 To safely access a sunken room, install a short stairway. Image Credit: Jupiterimages/Photos.com/Getty Images
Stepping down into a sunken room makes the space feel farther away from the rest of the house, but the steps leading to the sunken space need to be constructed so anyone using them can walk safely into the room. Even if the sunken room is only a step or two below the level of the rest of the house, you will need need to install a handrail. This serves both as a support and to alert people that there are steps leading to the sunken room.
Video of the Day
Step 1
Measure the distance between the floor of the sunken room and the floor of the higher room. Divide this number by 6 inches and round to the next highest number to determine the number of steps you need. For instance, if your sunken room is 34 inches below the next room: 20/6 = 3.3333. Round this up to 4 for the number of steps.
Step 2
Divide the total height needed for the steps by this rounded number to determine the height of the risers. For the example, you calculated that you needed four steps. Divide the total height of 20 by 4 to determine that each riser needs to be 5 inches high.
Step 3
Cut 2-by-12 boards to the length of the steps, using one board per step for the tread. Cut the same number of treads as you calculated steps you needed. The example found a need for four steps.
Step 4
Cut 2-by-12 boards into risers to the calculated height for the risers and the same length as the treads. In the example, this was 5 inches.
Step 5
Cut three 2-by-12 boards as long as the distance from the floor to the underside of the top tread. These will be the supports for the steps.
Step 6
Draw with a pencil the riser height and tread depth for the stairs on two 2-by-12 boards with a framing square. These boards will be the stringers.
Step 7
Cut out the stair outline on the stringers with a saw.
Step 8
Screw the three supports into the edge of the raised floor using four 4-inch long 3/8-inch wood screws per support in the four corners of each support.
Step 9
Attach the risers vertically to the stringers with the wood screws. Arrange the risers so their edges line up with the sides of the stringers. Use two screws per riser.
Step 10
Screw the treads on the horizontal portions cut from the stringers to align them to the two stringers. Use two screws per tread.
Step 11
Place the built stairs against the support blocks installed on the edge of the floor and screw the top tread into the edges of each of the blocks using two screws per block.
Step 12
Fit the handrail cut to the length of the stairs into the metal handrail brackets according to the bracket instructions.
Step 13
Screw at least two handrail brackets into the studs in the wall adjacent to the steps.


