


")


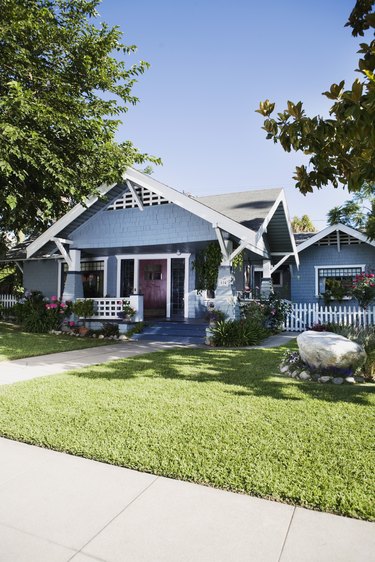 Craftsman brackets appear functional, but often are decorative only. Image Credit: Jupiterimages/Stockbyte/Getty Images
The Craftsman style originated in the early 1900s in California and continued to spread throughout the country until about 1930. The simple style was used primarily on — but not exclusive to — bungalows with long, low-pitched, gabled rooflines, with emphasis on structural members such as exposed rafters and eaves with Craftsman brackets underneath. Craftsman-style brackets not only serve as an aesthetic addition, but also provide a certain amount of support to the overhanging eaves of the roof.
Video of the Day
Beam Me Up
Add Craftsman brackets to your home — even it's not Craftsman style — if it has overhanging, exposed eaves. Sometimes commonly referred to as a corbel support or knee brace support, versions of this bracket are routinely used on contemporary homes as a support for countertop overhangs, shelves, mantels or anywhere a cantilevered shelf or eave needs support or aesthetic enhancement. Under eaves, the support typically consists of three 4-by-4 beams, but can also be a mixture of 4-by-4s and 2-by-4s, or for more imposing brackets, 6-by-6 beams. The form and shape of the bracket is basic, consisting of two beams joined together at 90 degrees with one beam spanning them diagonally. One vertical beam fits against the exterior wall, one beam supports the overhanging eave and the diagonal beam forms the support between them. Brackets can be assembled during installation under the eave, or assembled on the ground and then installed as a complete unit.
Bracket Basics
Use pressure-treated 4-by-4 beams to build a basic Craftsman bracket. Measure the eave overhang from the exterior wall and add 5 inches to the measurement to provide a reveal or extension on the end of the horizontal beam that supports the eave if desired, but you can cut it longer or shorter. If you have existing brackets, use one for reference. Draw the bracket full-sized on a piece of scrap wood, sketching the horizontal beam first, followed by the vertical beam underneath and finally the diagonal beam mitered at 45 degrees. Draw a 2-inch-deep, 4-inch-wide notch at the end of the horizontal beam. The end of the vertical beam fits into the notch for strength. Add 5 inches to the bottom of the vertical beam for balance, but as with the horizontal beam, adding length to the beam is also subjective.
Angles or Notches
Use a radial-arm saw or a miter saw that's big enough to cut through the beams. Brackets sometimes have a chamfered end, which is a series of four miter cuts that form a diamond-shape on the end of the horizontal member; do it with the miter saw or the blade of a table saw tilted at 30 degrees. Cut the 2-inch-deep notch on the opposite end with a band saw. Once you complete the drawing, cut angled notches in the horizontal and vertical beams to receive the mitered ends of the diagonal member, or bolt them together as-is, without notches. If you decide to cut the angled notches, refer to the drawing and use the radial arm saw tilted to approximately 65 degrees to cut one side of the notch, and then a band saw to cut the longer angle to complete the notch. Cut the angles on the ends of the diagonal beam using either the miter saw or radial arm saw. The angled, mitered ends of the diagonal piece fit into the notches of the vertical and horizontal members. Cutting angles on larger beams can be tricky. If you decide to assemble them as-is without notches, that's fine.
The Designer Touch
Options for Craftsman brackets include curved, scalloped or carved diagonal braces. Draw almost any design on the diagonal piece and use a band saw to cut it out. Run a cove bit around the outside edges or chamfer the edges with a table saw before assembling the bracket. Add a stair-step effect to the vertical and horizontal members by cutting a series of steps on the ends with the band saw. Add more length to the horizontal member at the bottom to promote a substantial appearance. Other options include the use of redwood or cedar for a natural beam.
Lag Behind
Clamp the members together using bar clamps, and drill countersunk pilot holes through them big enough to hide the head of the bolt and washer. Bolt them together using lag bolts with washers, with two pair of bolts side-by-side, evenly spaced through the back of each joint. Use lag bolts with washers to attach the completed bracket under the eave and to the exterior side of the house. Use screws as an option to bolts for a lighter-duty bracket. Apply paint or some type of sealant before installation.


