")


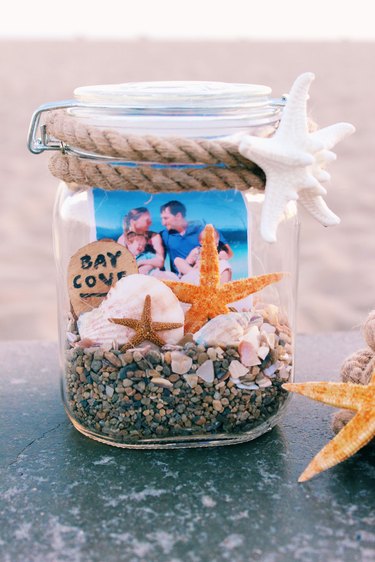
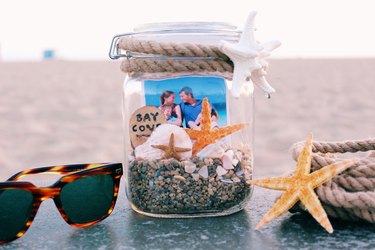
Family getaways at the beach are treasured occasions, and what better way to keep your memories than with a mason jar filled with a family photo, along with sand and shells collected on your vacation? Assembling these souvenir memory jars can become a family tradition through the years, with photos and knickknacks filling each one to capture the special moments you've shared together.
Video of the Day
Warning
Laws vary from state to state on whether it is legal to take sand, shells, rocks and other objects from public beaches. Check your specific state's laws before removing anything from the beach. If it is in fact illegal in your area, then purchase the sand and beach elements from the crafts store.
Things You’ll Need
-
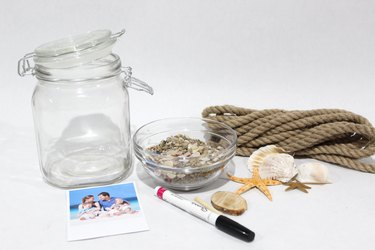
Glass mason jar or canister
-
Sand
-
Photo
-
Shells
-
Piece of wood
-
Black marker
-
Wood skewer
-
Hot glue
-
Rope
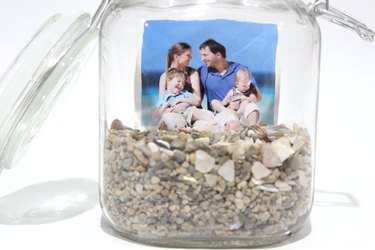
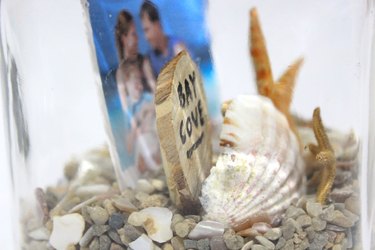
Step 1: Place Sand in Jar
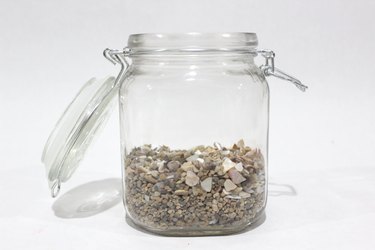
Pour about two inches of sand into the jar. Be sure to leave enough room for shells and a photo.
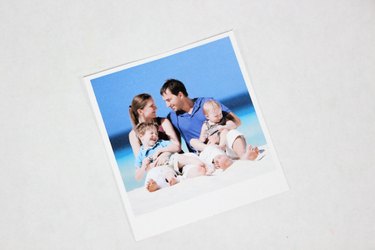
Step 2: Size Your Photo
Size your photo to fit within the jar. Add about an inch of blank space to the bottom of the photo to account for the section that will be buried in the sand.
Step 3: Position the Photo
Place the photo toward the back of the jar, sliding the photo into the sand for support. The blank space at the bottom of the photo should be hidden in the sand.
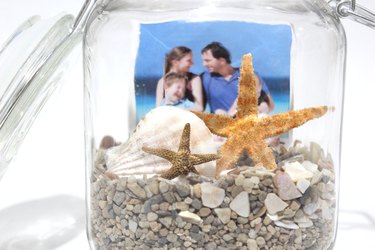
Step 4: Add Shells
Position shells in the front of the jar, trying not to block too much of the photo.
Step 5: Make the Location Marker
A marker to indicate where and when the photo was taken adds a nice touch to the memory jar. On a piece of wood, write the name of the location (and date) with a black marker. You can also write the name on one of the shells, or even a piece of cardstock.
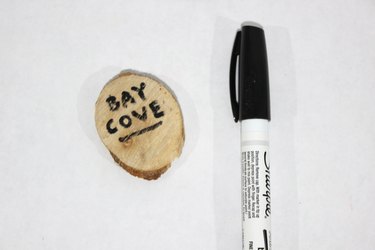
Cut off a two-inch piece of a wood skewer, and hot glue it to the back of the location marker.
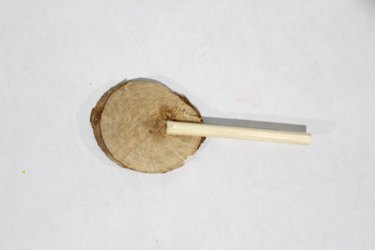
Insert the skewer into the sand to hold the location marker in place.
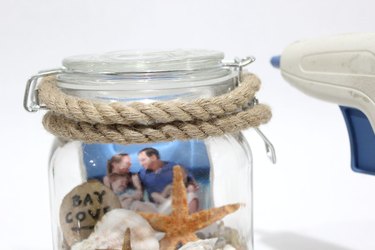
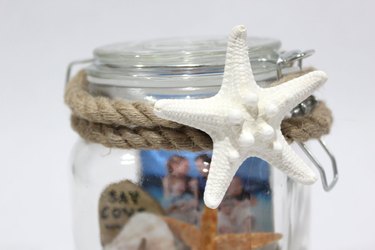
Step 6: Decorate the Top
Add a nautical feature to the top of the jar by hot gluing some rope around it.
For the final detail, hot glue a starfish or other seashell to the rope.
This memory jar gives new meaning to the term "sands of time."